
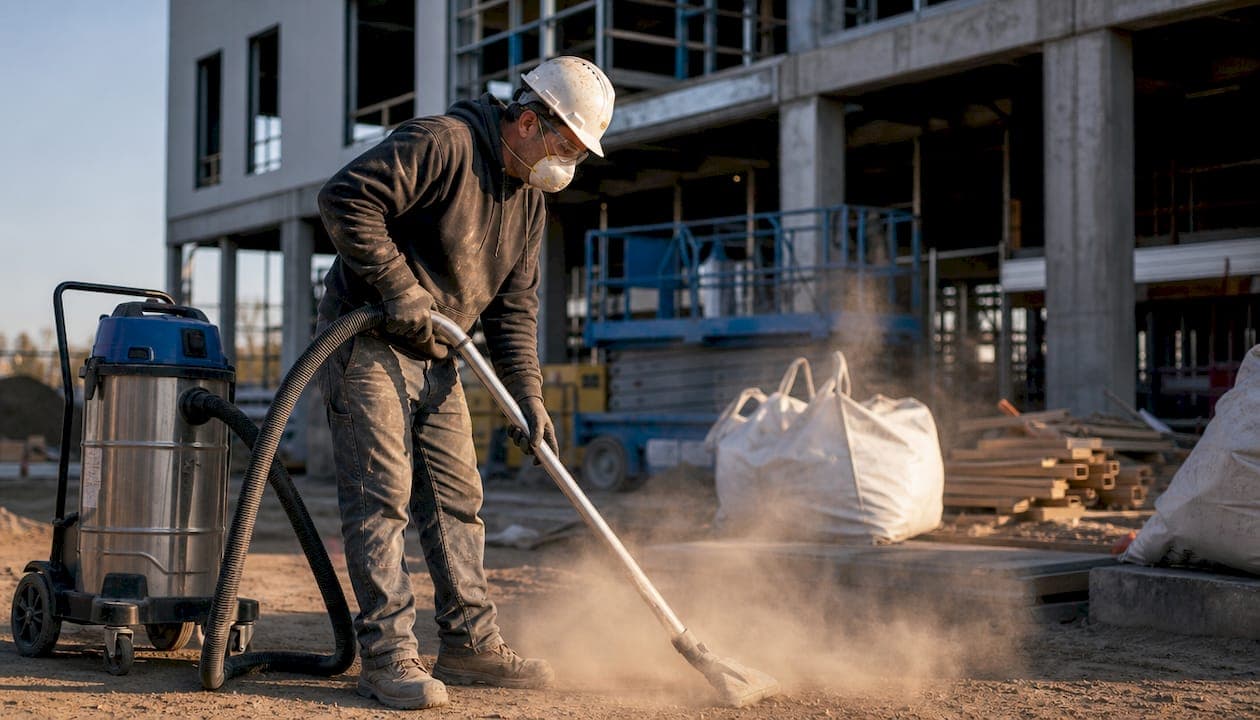
Concrete dust cleanup after construction is defined as the systematic removal of fine particulate matter left behind by cutting, grinding, drilling, and demolition work on a construction site. Concrete dust is a mixture of very fine particles from drywall, concrete, wood, insulation, and tile debris that settles on every surface and stays airborne for extended periods. Inhaling these particles causes respiratory damage, and leaving residue on surfaces leads to bonding, staining, and long-term structural harm. A structured cleanup using HEPA vacuuming, controlled wet cleaning, and proper disposal is the only method that fully eliminates the risk.
What does concrete dust cleanup after construction actually involve?
Post-construction cleanup is not a single pass with a mop. It is a sequenced process that moves from dry dust extraction to controlled wet cleaning, followed by inspection and compliant disposal. Each phase builds on the previous one. Skipping a step forces rework and can permanently embed dust into porous surfaces.
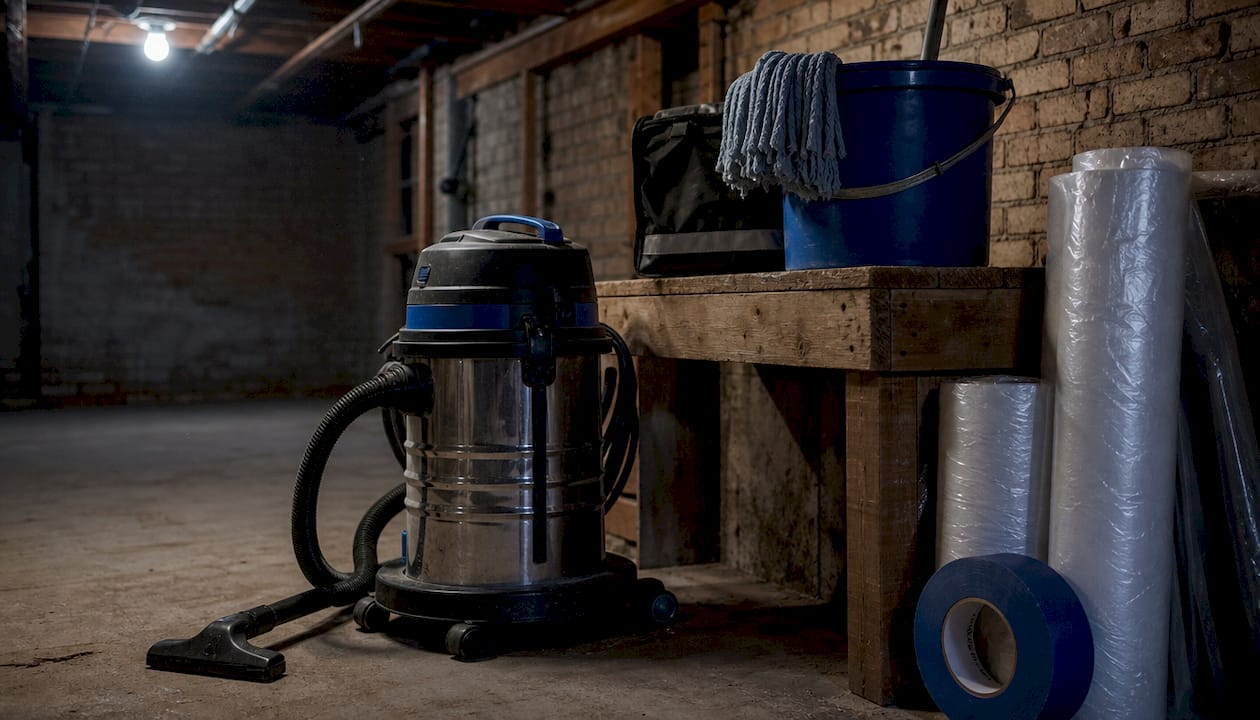
The industry term for this work is "post-construction cleaning" or "construction dust removal." The informal phrase "concrete dust cleanup" covers the same scope but is narrower in focus. Both terms describe the same core workflow: contain, extract, clean, inspect, and dispose. Site managers who treat it as a single-phase task consistently report residue problems weeks after handover.
HEPA filtration is the non-negotiable standard for this work. Regular vacuums lack sealed HEPA systems, which means they release fine particles back into the air rather than capturing them. That distinction matters because concrete dust particles are small enough to bypass standard filters and re-contaminate freshly cleaned surfaces within hours.
What tools and preparation do you need before starting?
The right equipment determines whether the cleanup succeeds or creates a second problem. Arriving on site without a sealed HEPA vacuum, microfiber cloths, and proper personal protective equipment (PPE) is the most common setup failure site managers make.
Required tools
- HEPA vacuum with sealed filtration and multiple attachments (crevice tool, brush head, wide floor nozzle)
- Microfiber cloths and flat microfiber mops for controlled wet wiping
- Two-bucket system (one for clean solution, one for rinse water) to prevent cross-contamination
- N95 or P100 respirator masks, safety goggles, and nitrile gloves
- Neutral pH cleaning solution safe for concrete and finished surfaces
- Heavy-duty sealed disposal bags rated for construction debris
- Plastic sheeting and tape to seal off HVAC vents and adjacent clean areas
Site preparation steps
Before any cleaning begins, seal HVAC vents with plastic sheeting to prevent dust from entering ductwork. Open windows and set up fans for cross-ventilation to push suspended particles out of the space. Ventilation and air circulation are critical for removing airborne dust before and after cleaning. Running fans for at least 30 minutes before starting gives suspended particles time to settle, which makes vacuuming far more effective.
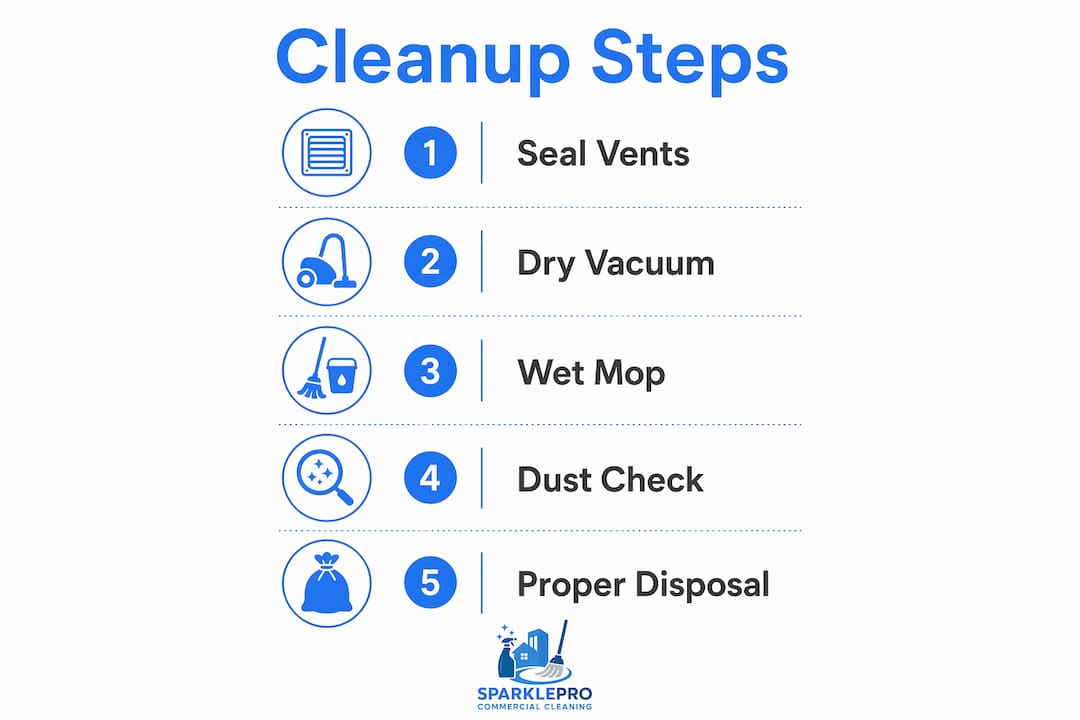
Pro Tip: Seal interior doorways with plastic sheeting before you start. This stops dust from migrating to already-cleaned areas and cuts total cleaning time significantly.
Plan debris disposal before you start. Local regulations for concrete dust vary by municipality, and some jurisdictions classify construction debris as regulated waste. Confirm disposal requirements with your local waste authority before the job begins.
| Preparation Step | Why It Matters |
|---|---|
| Seal HVAC vents | Prevents dust from entering ductwork and recirculating |
| Set up cross-ventilation | Clears airborne particles before vacuuming begins |
| Wear full PPE | Protects against respiratory and eye damage from fine particles |
| Confirm disposal rules | Avoids regulatory fines and environmental violations |
| Seal adjacent clean areas | Prevents cross-contamination during active cleaning |
How do you remove dry concrete dust safely with a HEPA vacuum?
Dry dust removal is the first active cleaning phase, and the sequence matters as much as the equipment. Always start from the highest surfaces and work down. Dust falls. Cleaning a floor before vacuuming walls means you will clean the floor twice.
Follow this sequence for every room or zone:
- Vacuum ceiling surfaces, light fixtures, and ceiling vents using a brush attachment. Move in overlapping passes to avoid missing sections.
- Vacuum walls from top to bottom, paying close attention to corners, window frames, and door casings where dust accumulates in layers.
- Vacuum all horizontal surfaces including shelving, windowsills, countertops, and any built-in cabinetry.
- Vacuum floor surfaces last, using a wide floor nozzle with overlapping passes. Move slowly. Rushing reduces particle capture.
- Re-vacuum any area where you disturbed settled dust during the process.
Dry sweeping agitates dust and causes particles to become airborne, making cleanup less effective and creating an inhalation hazard. Never use a broom as a substitute for vacuuming on a post-construction site. The HEPA vacuum is the only tool that captures fine particles without redistributing them.
Textured and porous surfaces require a different approach. For textured ceilings and brick walls, controlled dry sponge cleaning removes dust without smearing or bonding it to the surface texture. Applying water to these surfaces before dry extraction causes the dust to form a paste that is extremely difficult to remove.
Pro Tip: After vacuuming floors, run a flashlight beam at a low angle across the surface. This reveals fine dust layers invisible under normal lighting. Vacuum those areas again before moving to wet cleaning.
For a full breakdown of how this fits into the broader post-construction cleaning process, the sequencing of phases is critical to achieving a handover-ready result.
How do you use wet cleaning methods without creating new problems?
Wet cleaning captures the dust that vacuuming leaves behind, particularly in surface pores and micro-cracks. The risk is doing it wrong. Over-wetting creates a slurry that bonds to concrete and leaves a white film that is harder to remove than the original dust.
The two-bucket controlled wet method is the professional standard. One bucket holds a neutral pH cleaning solution. The second holds clean rinse water. You dip the microfiber cloth or mop into the solution bucket, wring it until barely damp, wipe the surface, then rinse the cloth in the second bucket before reloading. This prevents dirty water from going back onto the surface.
Common wet cleaning mistakes to avoid
- Over-wetting the surface. Standing water on concrete causes the dust to form a hard slurry that bonds to the floor.
- Using acidic or alkaline cleaners. These damage concrete finishes and can react with residual construction chemicals.
- Skipping the rinse cycle. Cleaning solution left on the surface attracts new dust and leaves streaks.
- Using a single bucket. This recirculates dirty water and re-deposits dust on cleaned surfaces.
- Rushing the drying phase. Wet surfaces must dry fully before inspection. Inspecting a damp surface misses residual powder that only appears after drying.
| Method | Risk if done wrong | Correct approach |
|---|---|---|
| Wet mopping | Slurry buildup, white film | Barely damp microfiber, two-bucket system |
| Single-bucket cleaning | Dust redistribution | Separate solution and rinse buckets |
| Acidic cleaners | Surface damage | Neutral pH solution only |
| Skipping drying | Missed residue | Full dry cycle before inspection |
Repeated vacuuming and damp microfiber mopping of concrete floors are often necessary to fully remove dust trapped in surface pores. One pass is rarely enough on raw or lightly sealed concrete.
How do you inspect for remaining dust and avoid costly mistakes?
Inspection is not optional. Dust hides in places that look clean under standard lighting. A thorough inspection catches residue before the client or building occupants do.
Use these methods to verify the space is clean:
- Flashlight test at floor level. Angle a flashlight beam across the floor surface. Remaining dust appears as a haze or powder layer.
- Fingertip check. Run a clean finger across surfaces including the tops of door frames, window tracks, and baseboards. Any gray residue means the area needs another pass.
- Vent and HVAC inspection. Remove vent covers and check for dust accumulation inside the duct opening. Dust in vents recirculates through the building after occupancy begins.
- Cabinet interiors. Dust migrates into cabinet boxes during construction. Check shelves, drawer tracks, and interior corners.
Skipping the HVAC inspection after post-construction cleaning is one of the most expensive mistakes a site manager can make. Dust that enters ductwork during construction gets distributed throughout the entire building the moment the system runs. A single contaminated return duct can undo days of surface cleaning in hours. Always seal vents before cleaning and inspect them before reopening.
HVAC system cleaning after construction is a separate but related process that site managers often overlook until occupants report air quality issues.
Flushing concrete dust down drains is one of the most damaging disposal mistakes on any construction site. Concrete dust does not dissolve in water. It forms a hardening slurry inside pipes that causes severe clogs and costly plumbing repairs.
How do you dispose of concrete dust properly and maintain your tools?
Disposal is the final phase and the one most likely to create regulatory problems if handled carelessly. Follow this sequence to close out the job correctly:
- Collect all vacuumed debris from the HEPA vacuum canister into a heavy-duty sealed bag. Double-bag if the volume is large.
- Seal all bags tightly before moving them through the building. Loose bags shed dust as they are carried out.
- Label bags as construction debris and check local regulations for disposal requirements. Proper disposal protects health and the environment; improper disposal leads to contamination and possible regulatory fines.
- Never flush concrete dust or rinse water down drains. Dispose of mop water in a utility sink with a sediment trap, or transport it off site in sealed containers.
- Clean all tools immediately after use. Rinse microfiber cloths and mops, and allow them to dry fully before storage. Replace HEPA filters according to the manufacturer's schedule.
- Replace HVAC filters in the building before the system is turned back on. Even with sealed vents, some dust enters the system during construction.
Pro Tip: After replacing HVAC filters, run the system on fan-only mode for 30 minutes with windows open before switching to heating or cooling. This flushes any residual airborne particles from the ductwork before occupancy.
Key Takeaways
Effective concrete dust cleanup after construction requires a strict sequence of dry extraction, controlled wet cleaning, thorough inspection, and compliant disposal to eliminate fine particles completely and safely.
| Point | Details |
|---|---|
| HEPA vacuuming is non-negotiable | Regular vacuums release fine particles back into the air; sealed HEPA systems capture them. |
| Clean top to bottom | Always vacuum ceilings and walls before floors to avoid re-contaminating cleaned surfaces. |
| Use the two-bucket wet method | Barely damp microfiber with separate solution and rinse buckets prevents slurry buildup. |
| Inspect before sign-off | Use flashlight tests and fingertip checks to find residue invisible under normal lighting. |
| Never flush dust down drains | Concrete dust hardens in pipes and causes costly plumbing blockages. |
What most site managers get wrong about concrete dust
The assumption I see most often is that concrete dust cleanup is a finishing task you schedule at the end of a project and knock out in a day. On a mid-size commercial build, that thinking consistently produces callbacks, air quality complaints, and failed inspections.
The part that surprises most site managers is how far dust travels. I have seen concrete dust from a single grinding operation coat surfaces three rooms away from the work zone. The particles are light enough to travel through HVAC systems, under door gaps, and through unsealed wall penetrations. By the time the work is done, the dust is everywhere, not just in the room where the work happened.
The other underestimated factor is sequence. Teams that vacuum floors first, then disturb walls and ceilings, redo the floor work every time. The top-down rule is not a preference. It is the only sequence that avoids rework. Patience in following the correct order saves more time than rushing through it.
Large sites also need zone-by-zone management. Trying to clean an entire floor at once leads to cross-contamination between zones. Sealing completed zones and moving systematically through the building is the approach that holds up at final inspection.
— Sales
When to bring in a professional cleaning crew
Large commercial sites, healthcare facilities, and any project with strict air quality requirements benefit from professional post-construction cleaning. Sparkleprocommercialcleaning deploys crews trained in HEPA extraction and controlled wet cleaning protocols, with equipment scaled for commercial square footage that a standard site crew cannot match.

For site managers and property owners in the mid-Atlantic and Northeast, Sparkleprocommercialcleaning provides post-construction cleanup in Delaware, cleaning services in Massachusetts, construction dust removal in Washington, and post-construction services in New Jersey. Every engagement includes site assessment, scheduled cleaning, and client approval before sign-off. Regulatory compliance and health safety are built into the process, not added as an afterthought.
FAQ
What is concrete dust and why is it hard to clean?
Concrete dust is a fine particulate mixture from cutting, grinding, and demolition that includes drywall, concrete, wood, and tile debris. It stays airborne for long periods and embeds in porous surfaces, requiring HEPA vacuuming and controlled wet cleaning to remove fully.
Can I use a regular vacuum for concrete dust cleanup?
No. Regular vacuums lack sealed HEPA filtration and release fine particles back into the air. Only vacuums with sealed HEPA systems capture concrete dust safely without recirculating it.
Why should I never sweep concrete dust with a broom?
Dry sweeping agitates concrete dust and sends particles back into the air, creating an inhalation hazard and spreading contamination. HEPA vacuuming is the correct method for dry dust removal.
Is it safe to flush concrete dust down a drain?
Concrete dust does not dissolve in water. It forms a hardening slurry inside pipes that causes severe clogs and expensive plumbing repairs. Always seal dust in heavy-duty bags for proper disposal.
How do I know when the cleanup is complete?
Use a flashlight angled at floor level to reveal remaining dust layers, and run a clean finger across surfaces including door frames and windowsills. Inspect HVAC vents and cabinet interiors before declaring the space clean.