
Proper building cleaning preparation is defined as the structured process of making a site, its systems, and its documentation ready before professional cleaning crews arrive. Property managers who skip this process routinely face rework, failed inspections, and cost overruns. This guide covers every step you need: from confirming site readiness and controlling construction dust with HEPA vacuums and microfiber cloths, to building a room-by-room building cleaning checklist that survives scrutiny from inspectors and clients alike. Follow these steps and your cleaning crew works once, not twice.
How to prepare for building cleaning: site prerequisites first
The single most common reason a post-construction cleanup fails is that cleaning starts too early. Final cleaning should only begin when all construction work has stopped producing dust and the team has full access to utilities. That rule sounds obvious, but property managers under schedule pressure routinely push crews in while trades are still active, guaranteeing a second full clean at their expense.
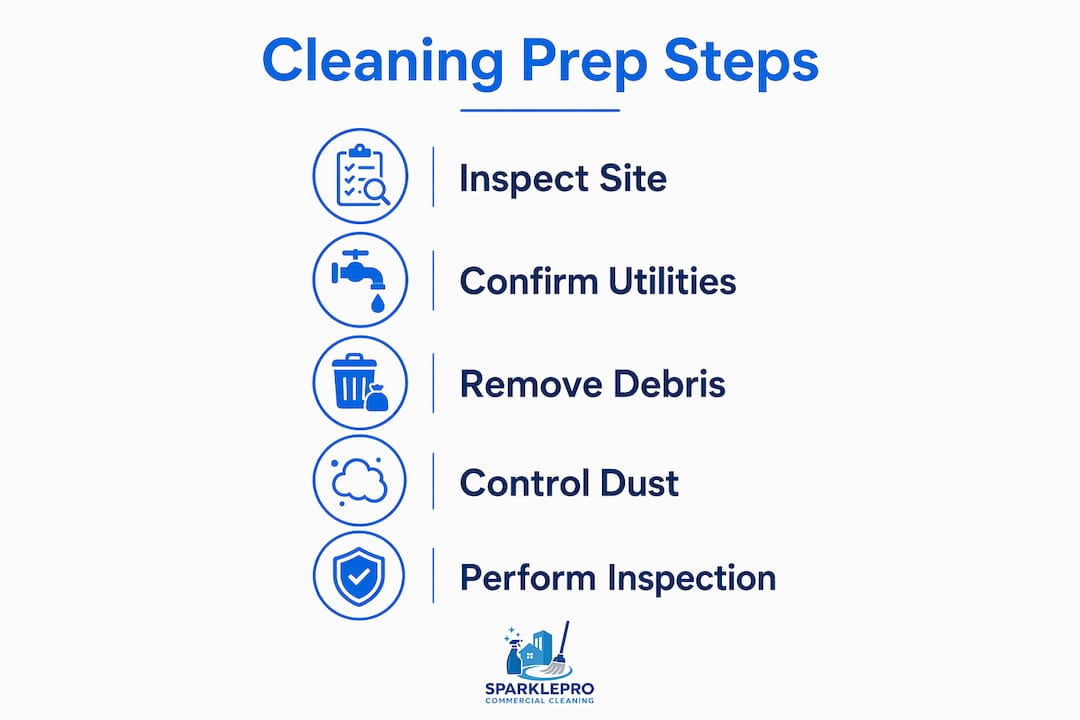
Before any crew mobilizes, confirm the following conditions are met:
- Construction complete: Every trade, including drywall, paint, and flooring, has finished in the area being cleaned.
- Debris consolidated or removed: Bulk waste, scrap lumber, and packaging must be cleared so crews can access surfaces safely.
- Utilities confirmed: Power for vacuums and lighting, and water for wet mopping and restroom servicing, must be live.
- Access and approvals secured: Key cards, elevator reservations, and any required permits or building management approvals are in hand before the crew's arrival.
- Protective coverings removed: Plastic sheeting on fixtures and floors should be pulled with authorization, not left for cleaning crews to improvise around.
Site readiness prevents rework and eliminates blocked-access safety hazards. A crew that arrives to a site still under active construction will either stand idle or clean surfaces that get re-dirtied within hours. Neither outcome is acceptable.
Pro Tip: Walk the entire floor plate yourself 24 hours before the scheduled clean. Flag any area where a trade is still active and formally delay cleaning in that zone rather than allowing partial work to proceed.
What tools and techniques control construction dust effectively?
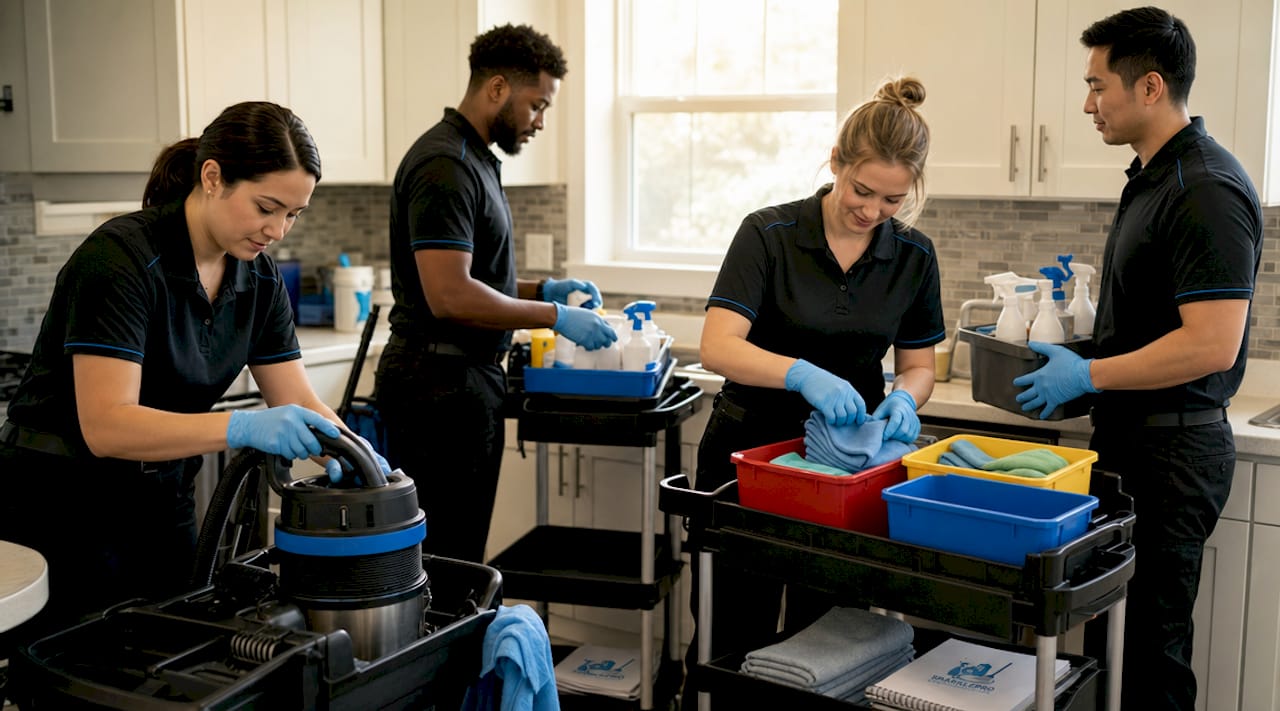
Construction dust is not ordinary office dust. Fine silica and drywall particulate can stay airborne for hours after disturbance, resettling on surfaces that were just cleaned. The solution is a specific sequence combined with the right equipment.
Dry sweeping must be avoided entirely during post-construction cleaning because it re-circulates fine particles rather than capturing them. HEPA-filtered vacuum systems, such as those meeting OSHA's Table 1 silica standards, trap particles at 0.3 microns and prevent them from returning to the air. Microfiber cloths, used damp rather than dry, capture residual dust on hard surfaces without spreading it.
The sequence matters as much as the tools. Cleaning top to bottom and finishing with floors last is the only method that prevents resettling. Here is how the sequence works in practice:
- Ceilings and light fixtures first: Dust falls. Clean what is highest before touching anything below.
- Walls, windows, and ledges second: Wipe with damp microfiber from top to bottom in overlapping passes.
- Countertops, cabinetry, and fixtures third: HEPA vacuum interior surfaces before wiping with microfiber.
- Floors last: HEPA vacuum the entire floor area, then wet mop with a clean solution. Never dry sweep.
For glass surfaces, a two-step process works best: a HEPA vacuum pass to remove grit that would scratch the glass, followed by a squeegee with a commercial glass cleaner. Skipping the vacuum step is the most common cause of scratched glazing on new construction.
Pro Tip: Label your microfiber cloths by zone using colored coding. Blue for glass, green for countertops, red for restrooms. Cross-contamination between zones is a frequent quality failure that color coding eliminates entirely.
For a detailed walkthrough of the full post-construction sequence, the post-construction cleaning process guide covers each phase with specific task breakdowns.
How do you build a building cleaning checklist for inspections?
A cleaning checklist built from scratch without reference to inspection standards is guesswork. The correct method is to use the condition report or official inspection criteria as the blueprint, then build your checklist line by line from those requirements.
For commercial properties, the process follows four steps:
- Pull the inspection standard or lease requirement. For a tenant turnover, this is the move-out clause. For a post-construction handover, this is the general contractor's punch list. For a regulatory inspection, this is the agency's published criteria.
- Break the building into zones. Lobbies, restrooms, mechanical rooms, stairwells, and individual suites each get their own checklist section. Commercial site walkthroughs that capture zone breakdowns, floor types, and access logistics reduce scope disputes and prevent underbidding.
- Assign item-level pass/fail criteria. Each checklist item should have a measurable standard: "No visible dust on horizontal surfaces above 6 feet," not "clean ceiling area."
- Build in documentation fields. Every completed item needs a photo field, a timestamp, and a technician initial. Photo documentation with timestamps of at least 8 areas serves as proof for quality assurance and dispute resolution.
- Add a work order follow-up column. Any item that fails the first pass gets a work order number assigned on the spot so nothing falls through the cracks.
The table below shows how a zone-level checklist entry should be structured:
| Zone | Item | Standard | Pass/Fail | Photo ID | Work Order |
|---|---|---|---|---|---|
| Lobby | Glass entry doors | No streaks, no grit | Pass | IMG_0041 | N/A |
| Restroom | Grout lines | No discoloration | Fail | IMG_0057 | WO-114 |
| Suite 302 | Window sills | No dust accumulation | Pass | IMG_0063 | N/A |
This structure gives you a defensible record. If a client disputes the condition of a space after turnover, your timestamped photos and signed checklist are your evidence. For a ready-made starting point, this office cleaning checklist covers the core items most commercial properties require.
How to conduct pre- and post-cleaning inspections for compliance
Inspections are not a formality. They are the mechanism that catches failures before a client or regulator does. The best practice is to treat the pre-cleaning walkthrough like a scope-control process, not a courtesy visit.
Schedule a pre-inspection walkthrough at least two weeks before the official inspection date. Walkthroughs conducted fewer than three days before an inspection leave no time for remediation and verification. Two weeks gives you time to identify deficiencies, issue work orders, complete corrections, and re-inspect before the official date.
The pre-cleaning walkthrough should produce:
- A written deficiency list with location, description, and severity rating.
- Photographic evidence of each deficiency with GPS or room-level tagging.
- A corrective action deadline assigned to a named responsible party.
The post-cleaning inspection follows a pass/fail scoring model. One critical fail overrides the overall score regardless of how many items passed. Critical items typically include restroom sanitation, floor cleanliness in high-traffic areas, and glass in client-facing spaces.
Post-cleaning verification should also confirm:
- Restrooms are fully restocked with paper products and soap.
- HVAC filters are clean or replaced, since construction dust loads filters rapidly.
- All systems, including lights, faucets, and door hardware, function correctly.
- A minimum of 8 timestamped photos document the completed condition of each major zone.
The commercial cleaning walkthrough checklist approach captures labor hours and scope details that reduce miscommunication between property managers and cleaning contractors. Treat the post-clean inspection as your sign-off document, not an afterthought.
Key takeaways
Effective building cleaning preparation requires site readiness, correct dust-control sequencing, and documented inspection processes to produce results that hold up to client and regulatory scrutiny.
| Point | Details |
|---|---|
| Site readiness comes first | Confirm construction is complete, utilities are live, and access is secured before any crew mobilizes. |
| HEPA and microfiber are non-negotiable | Dry sweeping re-circulates fine dust; HEPA vacuums and damp microfiber cloths are the correct tools. |
| Clean top to bottom, floors last | Sequence controls dust resettlement and prevents rework on already-cleaned surfaces. |
| Build checklists from inspection standards | Use condition reports and official criteria as blueprints, not generic templates. |
| Document everything with timestamps | Timestamped photos of at least 8 zones protect you in disputes and satisfy compliance requirements. |
What I've learned from watching preparation go wrong
After working with property managers across dozens of commercial handovers, the pattern I see most often is not a failure of cleaning quality. It is a failure of timing and communication. A crew arrives to a site where two trades are still active, the water is not yet live in the upper floors, and nobody has pulled the protective film off the windows. The crew does what it can, invoices for a full clean, and the property manager calls two weeks later wondering why the space still looks unfinished.
The fix is not a better cleaning crew. It is a pre-mobilization call between the property manager, the general contractor, and the cleaning supervisor, held 48 hours before the scheduled start. That single conversation surfaces 80% of the access and utility problems before they cost money.
I have also seen property managers underestimate how much a structured building cleaning checklist changes the outcome of a cleaning inspection. Inspectors and clients do not experience a space the way you do after weeks of managing it. They walk in fresh and notice what you stopped seeing. A checklist built from the actual inspection criteria forces you to see the space through their eyes before they arrive.
The other thing worth saying directly: dust control is not optional on post-construction sites. Property managers who allow dry sweeping to save time are creating a second cleaning event. HEPA vacuuming takes longer on the first pass and costs less overall because it eliminates the rework. The math is straightforward once you have paid for a second clean.
— Sales
How Sparkleprocommercialcleaning supports your cleaning preparation
Sparkleprocommercialcleaning works with property managers and building owners who need post-construction cleanouts, tenant turnover cleaning, and routine commercial janitorial services done right the first time. The team handles site walkthroughs, scope documentation, and scheduling coordination so you are not managing those details alone. Whether your property is in Delaware or requires Massachusetts commercial cleaning, Sparkleprocommercialcleaning brings licensed, insured crews with the equipment and protocols this guide describes. Contact Sparkleprocommercialcleaning for a customized cleaning plan built around your inspection timeline and site conditions.
FAQ
What does building cleaning preparation involve?
Building cleaning preparation is the process of confirming site readiness, securing access and utilities, removing debris, and assembling a checklist before professional cleaning begins. Skipping these steps causes rework and failed inspections.
How far in advance should I schedule a pre-cleaning inspection?
Schedule a pre-inspection walkthrough at least two weeks before the official inspection date. Walkthroughs conducted fewer than three days before leave no time to correct deficiencies.
Why is dry sweeping a problem during construction cleanup?
Dry sweeping re-circulates fine silica and drywall dust rather than capturing it, causing particles to resettle on already-cleaned surfaces. HEPA-filtered vacuums and damp microfiber cloths are the correct tools for preparing for construction cleanup.
How many photos are required for a post-cleaning inspection record?
A post-cleaning inspection should include timestamped photos of at least 8 areas to document completed condition and support dispute resolution. One critical fail item overrides the overall pass score regardless of how many areas passed.
What should a building cleaning checklist include?
A building cleaning checklist should be organized by zone, include item-level pass/fail standards, documentation fields for photos and timestamps, and a work order column for failed items. Build it directly from the inspection criteria or condition report relevant to your property type.